
How to Use Codex CLI with Ace Data Cloud (Practical Terminal Guide)
A hands-on setup guide for configuring Codex CLI with a custom OpenAI Responses provider.
When I try a coding agent, the question is rarely "can it answer questions?" The useful question is whether it can sit inside my normal terminal, read the project, make careful edits, and use the model provider I already run through.
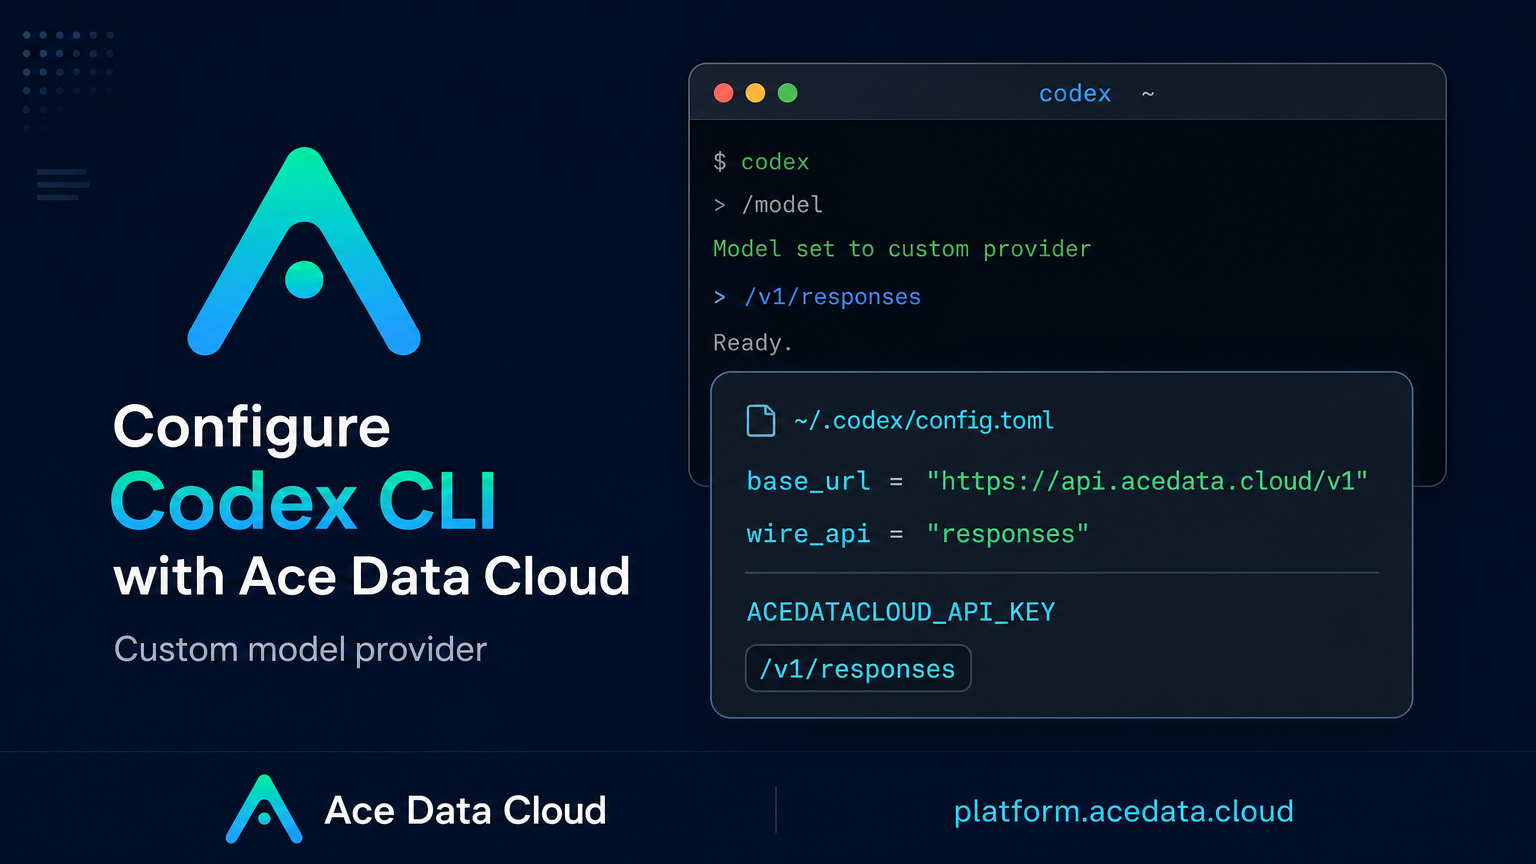
This guide walks through a practical setup for running Codex CLI with Ace Data Cloud as the custom model provider. The end state is simple: you still run the normal codex command, but requests go through the OpenAI Responses-compatible endpoint at https://api.acedata.cloud/v1.
What you are setting up
Codex CLI is a local programming agent that runs in the terminal. It can inspect code, modify files, execute commands, explain errors, and help with day-to-day development tasks without forcing you into a separate web UI.
The important part for this setup is that Codex CLI supports custom model providers. Ace Data Cloud exposes an OpenAI Responses-compatible proxy, so the CLI can send requests to:
https://api.acedata.cloud/v1/responses
You configure that by editing Codex's global config file and pointing it at a provider named acedatacloud. The CLI then reads your API token from an environment variable called ACEDATACLOUD_API_KEY.
Install Codex CLI
Codex CLI supports macOS, Linux, Windows, and WSL. If you already have Node.js 18 or higher installed, the npm path is the most direct:
npm install -g @openai/codex
On macOS, Homebrew is also available:
brew install --cask codex
After installation, reopen your terminal and check that the command is on your path:
codex --version
If you see command not found, it is usually a PATH issue. Close and reopen the terminal first; if that does not help, check the install output from npm or Homebrew and update your shell profile accordingly.
Add your API token to the shell
Codex needs a token it can read from the current terminal session. Put the Ace Data Cloud API token into your shell configuration file, such as ~/.zshrc, ~/.bashrc, or ~/.bash_profile:
export ACEDATACLOUD_API_KEY="{token}"
Replace {token} with your actual API token. Then reload the shell configuration. For example, if you use zsh:
source ~/.zshrc
I prefer using an environment variable here instead of pasting tokens directly into config files. It keeps the Codex configuration reusable, and it makes rotating the token later less annoying.
Configure Codex to use Ace Data Cloud
Codex CLI reads its global configuration from ~/.codex/config.toml. If the file does not exist yet, create it:
mkdir -p ~/.codex
touch ~/.codex/config.toml
Then add this configuration:
model_provider = "acedatacloud"
model = "gpt-5"
model_reasoning_effort = "high"

[model_providers.acedatacloud]
name = "Ace Data Cloud"
base_url = "https://api.acedata.cloud/v1"
env_key = "ACEDATACLOUD_API_KEY"
wire_api = "responses"
Here is what each field is doing:
model_providerselects the default provider and must match the provider block below.modelsets the default model Codex will use, such asgpt-5.model_reasoning_effortcontrols reasoning intensity; common values arelow,medium, andhigh.base_urlpoints Codex at the Ace Data Cloud OpenAI-compatible endpoint.env_keytells Codex which environment variable contains the API token.wire_apimust beresponses, because this setup uses the OpenAI Responses API protocol.
If you previously logged into Codex CLI with an official OpenAI account, clear the cached login before switching providers:
codex logout
If that command is not available, you can remove the local auth cache directly:
rm -f ~/.codex/auth.json
Start a project session and verify it
Move into a project and start Codex:
cd /path/to/your/project
codex
Inside the interactive interface, run:
/model
You should see the model and provider reflected back, for example:
Model: gpt-5
Provider: acedatacloud
If the provider is not acedatacloud, check two things first: whether ~/.codex/config.toml was saved correctly, and whether the current shell can read ACEDATACLOUD_API_KEY.
The request flow is straightforward. Codex reads model_provider, loads [model_providers.acedatacloud], gets the token from ACEDATACLOUD_API_KEY, and sends requests through wire_api = "responses" to https://api.acedata.cloud/v1/responses. Ace Data Cloud verifies the token, checks quota, forwards the request to the selected model channel, and records usage after completion.
Switching models and setting project trust
The default model is controlled by the model field in ~/.codex/config.toml. Common options in the document include gpt-5, gpt-5-mini, gpt-5.6-sol, gpt-5.6-terra, gpt-5.6-luna, gpt-5.5, gpt-5.5-pro, gpt-4.1, o3, and o4-mini.
For a temporary switch, pass the model when starting Codex:
codex --model gpt-5-mini
Codex also supports project-level trust settings:
[projects."/path/to/trusted/project"]
trust_level = "trusted"

[projects."/path/to/untrusted/project"]
trust_level = "untrusted"
Use trusted for projects where you are comfortable letting the agent execute commands and modify files. Use untrusted when opening unfamiliar repositories or code you have not reviewed yet.
For me, this is the part that makes the setup feel practical: the terminal workflow stays the same, while the provider layer becomes explicit and easy to change. If you want the source configuration details, the original guide is here: https://platform.acedata.cloud/documents/codex-terminal-integration