
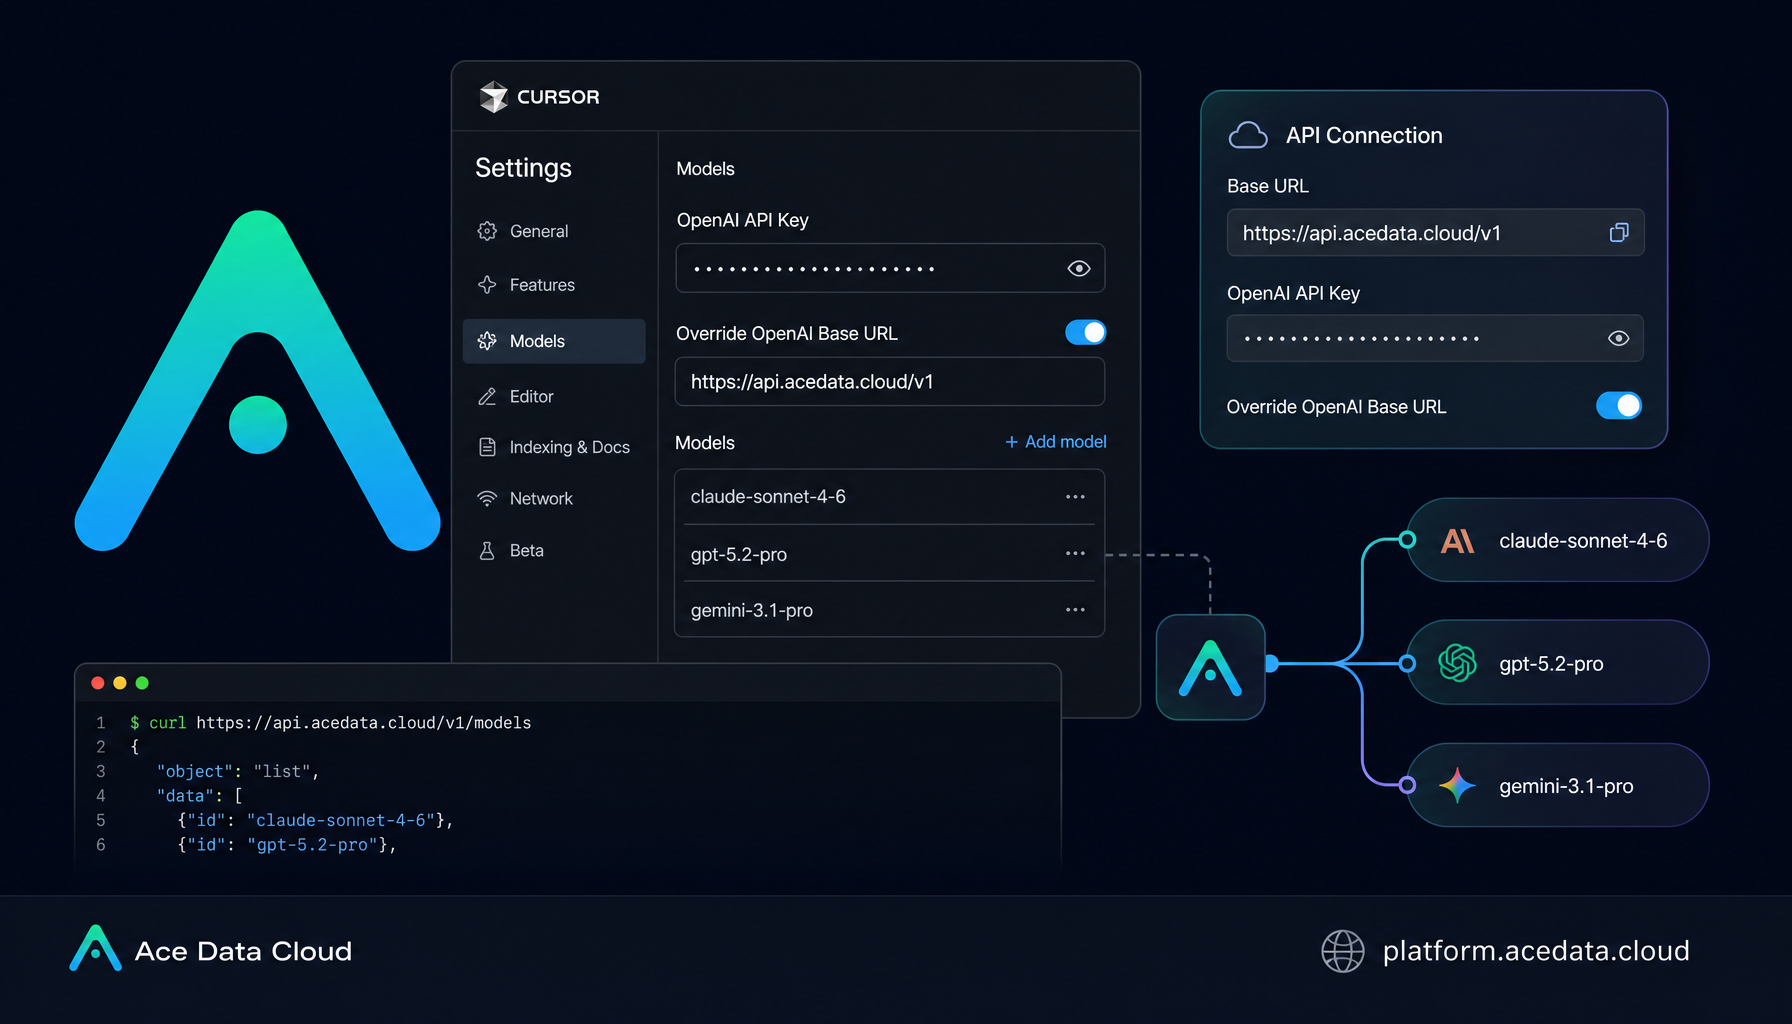
How to Use Ace Data Cloud Models in Cursor (Beginner's Guide)
A practical BYOK setup for routing Cursor Chat and Agent requests through one OpenAI-compatible endpoint.
If you have ever tried to automate image edits in a product workflow, the hard part is not making one nice demo — it is keeping the layout, text, and structure stable while changing only the part you asked for.
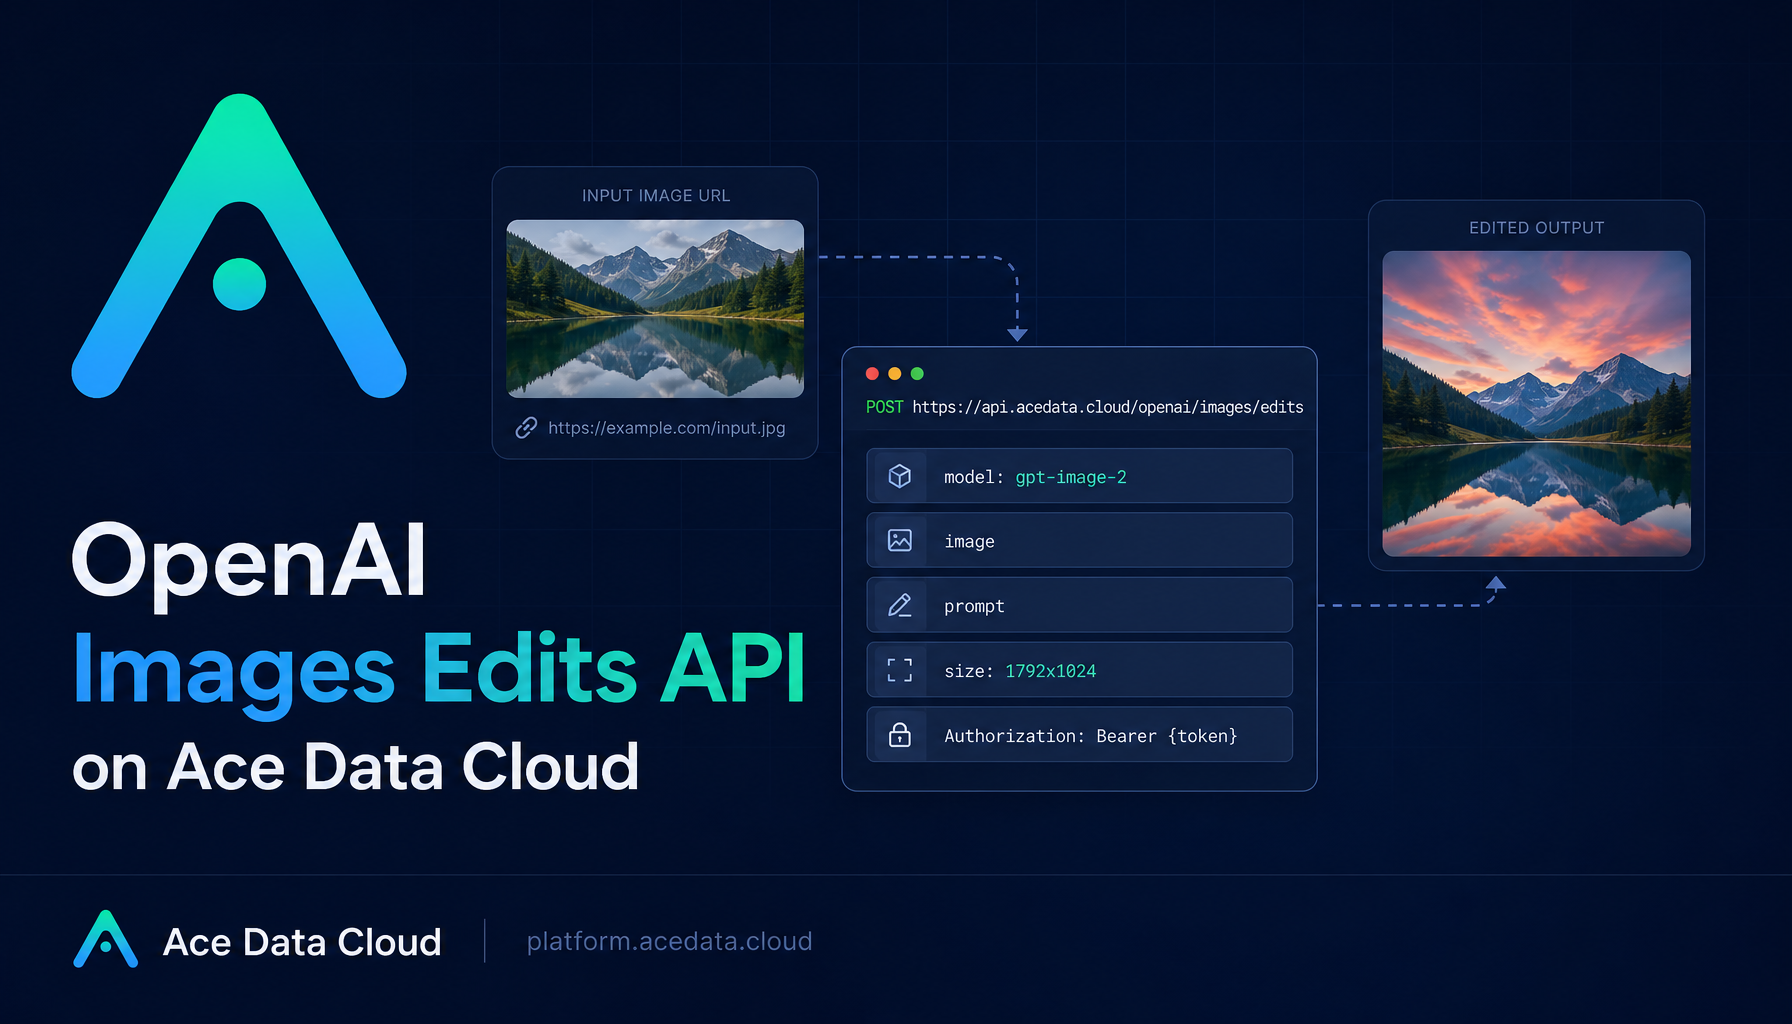
In this guide, I will walk through a practical way to use the OpenAI Images Edits API through Ace Data Cloud. The focus is not on making a flashy one-off image. It is on building a small, repeatable editing workflow: pass an existing image, give a clear instruction, choose a model, and get back an edited result that you can store or pass into the next step of your pipeline.
The examples below are based on the public Ace Data Cloud documentation for the Images Edits endpoint. I will keep the code close to the actual request shape so you can adapt it quickly.
What the endpoint does
The editing endpoint accepts one or more input images plus a natural-language instruction, then returns a modified image. The endpoint used in the current guide is:
POST https://api.acedata.cloud/openai/images/edits
For authorization, pass your token in the standard bearer format:
Authorization: Bearer {token}
The most useful model for many editing workflows is gpt-image-2. Compared with older image editing flows, the important practical detail is that it can work directly with image URLs in JSON. That means your backend does not always need to download a file, re-upload it as multipart data, and clean up temporary storage.
A minimal JSON request has these fields:
{
  "model": "gpt-image-2",
  "image": "https://example.com/input.png",
  "prompt": "Convert this infographic to dark mode while keeping the layout intact.",
  "size": "1024x1536"
}
The same image field can also be an array of URLs when you want to provide multiple references. The documentation notes that up to 16 reference images can be passed for the model to use during editing.
A simple dark-mode edit
One of the safest first tests is a color-system transformation. It is constrained enough to judge whether the model respects the original layout, but still useful for real products: dashboards, docs screenshots, infographics, onboarding cards, and social visuals often need light and dark variants.
Here is a curl request using JSON and an image URL:
curl -X POST "https://api.acedata.cloud/openai/images/edits" \
  -H "Authorization: Bearer {token}" \
  -H "Content-Type: application/json" \
  -d '{
    "model": "gpt-image-2",
    "image": "https://platform.cdn.acedata.cloud/gpt-image/5c9fa635-8794-4c6d-88f8-584d7f4716c6_0.png",
    "prompt": "Convert this infographic to dark mode: dark navy background, light cream text, deep gray rounded module cards with soft shadows. Keep all layout, structure, and module arrangement identical — only invert the color scheme.",
    "size": "1024x1536"
  }'
A good prompt here is specific about what should change and what should not. I usually write editing prompts in two parts: first the desired visual change, then the preservation rule. For example: “dark navy background” is the change; “keep all layout, structure, and module arrangement identical” is the guardrail.
The response follows a task-style structure and includes a result URL inside data:
{
  "success": true,
  "task_id": "cb104e35-af1f-45be-9fac-b62e2b256753",
  "trace_id": "3e5c77c6-6c2e-4bba-a42d-98ea049b58a8",
  "created": 1777048863,
  "data": [
    {
      "revised_prompt": "Convert this infographic to dark mode: dark navy background, light cream text, deep gray rounded module cards with soft shadows. Keep all layout, structure, and module arrangement identical — only invert the color scheme.",
      "url": "https://platform.cdn.acedata.cloud/gpt-image/cb104e35-af1f-45be-9fac-b62e2b256753_0.png"
    }
  ],
  "elapsed": 83.859
}
For production code, keep both task_id and trace_id in your logs. When an edit is slow, unexpected, or fails, those IDs are the easiest way to connect what your app saw with what the API processed.
Choosing sizes without guessing
The size field can be auto, omitted, or written as WIDTHxHEIGHT. For gpt-image-2, custom dimensions need to follow the documented constraints: width and height must be multiples of 16, the long side must be at most 3840, and the total pixel count must be at most 8,294,400.
Some practical sizes from the docs:
1024x1024for square 1K output1792x1024for 16:9 1K-style output2048x1152for 16:9 2K output3840x2160for 16:9 4K output1024x1536for vertical 3:4 output2160x3840for vertical 9:16 output
The important workflow point: choose the final display shape before calling the API. If the edited asset is going into a blog cover, use a landscape ratio. If it is going into a mobile story or vertical ad mockup, choose a vertical ratio. You will usually get cleaner results by asking for the intended canvas directly instead of editing first and cropping later.
One limitation worth knowing: for the default or reverse gpt-image-2 route, the editing interface does not support n > 1. Passing n=10 will not give ten candidates. If you need several options, run several requests concurrently and compare the returned URLs.
Using multiple reference images
The same endpoint can also use multiple inputs. This is useful when you want to combine product photos, apply a brand style from one reference to another, or keep a target object while changing the scene around it.
The request shape is straightforward:
payload = {
    "model": "gpt-image-2",
    "image": [
        "https://example.com/item1.png",
        "https://example.com/item2.png",
        "https://example.com/item3.png"
    ],
    "prompt": "Combine all the items above into a single 'Relax & Unwind' gift basket on a clean white background, photorealistic, soft natural lighting.",
    "size": "1024x1024"
}
This pattern is especially helpful for builder workflows because it keeps the orchestration simple. Your app can gather existing CDN URLs, place them into an array, and send one editing instruction. If your source images are local and you do not want to host them first, the image field can also accept base64, including data:image/png;base64,....
When to use the SDK-style flow
If your project already uses the OpenAI Python SDK, you can keep the familiar images.edit flow and point it at Ace Data Cloud by setting two environment variables:
export OPENAI_BASE_URL=https://api.acedata.cloud/openai
export OPENAI_API_KEY={token}
Then the edit call can look like this:
import base64
from openai import OpenAI

client = OpenAI()

result = client.images.edit(
    model="gpt-image-2",
    image=[open("test.png", "rb")],
    prompt="Convert this image to dark mode while keeping the layout intact."
)

image_base64 = result.data[0].b64_json
image_bytes = base64.b64decode(image_base64)

with open("edited.png", "wb") as f:
    f.write(image_bytes)
I would use the JSON URL flow for server-side automation and the SDK-style multipart flow when I am experimenting locally with files on disk. Both are valid; the better choice depends on where your images already live.
Handling longer edits
Image editing can take time. The documentation supports an asynchronous callback pattern with a callback_url field. Instead of holding an HTTP connection open until the edit finishes, your app can receive a quick response containing a task_id, then wait for a POST to your callback URL when the result is ready.
That design is usually better for queues, internal tools, and user-facing apps where you want to show “processing” without blocking the request thread.
A small founder note
The reason I like this kind of endpoint is that it turns image editing into a normal backend primitive. You can keep assets in your own storage, pass URLs through a clear API contract, log task IDs, and build repeatable workflows instead of manually reworking every image. If you want the exact reference details, the public guide is here: https://platform.acedata.cloud/documents/openai-images-edits-integration