

How to Run Codex CLI Through Ace Data Cloud (Beginner's Guide)
A practical terminal-first setup for using Codex CLI with an OpenAI Responses-compatible provider.
If you like working in the terminal, a coding agent becomes much more useful when it can live next to your repo, read files, explain failures, and make small changes without forcing you into a separate app.
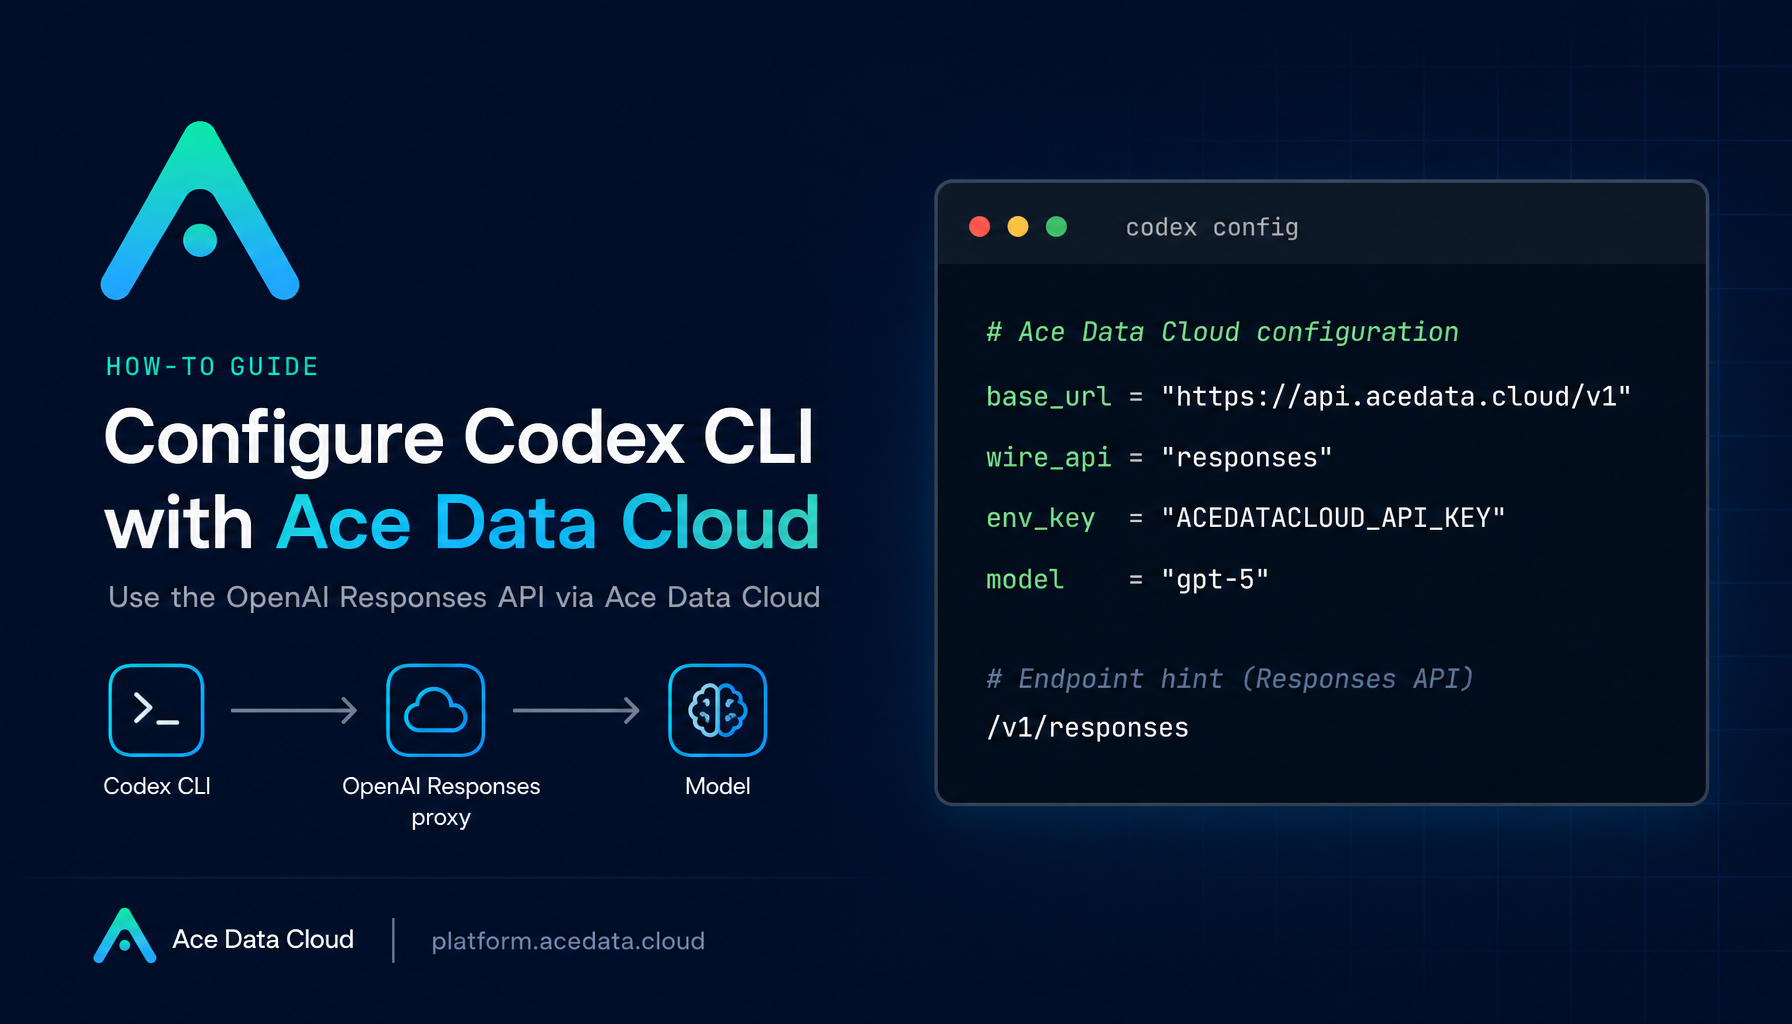
This guide walks through a practical setup for running Codex CLI through Ace Data Cloud's OpenAI Responses-compatible endpoint, while keeping the normal codex terminal workflow intact.
What you are setting up
Codex CLI is a local programming agent from OpenAI that runs in your terminal. In day-to-day use, it can read a project, explain a directory structure, inspect errors, modify files, and run commands. The useful part is not just the model call; it is the fact that the agent sits inside the same working directory where you are already building.
The Ace Data Cloud configuration in the source document uses Codex CLI's custom model provider support. Instead of changing how you invoke Codex, you point the provider to this base URL:
https://api.acedata.cloud/v1
Codex then speaks the OpenAI Responses protocol through:
https://api.acedata.cloud/v1/responses
The important fields are:
model_provider = "acedatacloud"model = "gpt-5"model_reasoning_effort = "high"base_url = "https://api.acedata.cloud/v1"env_key = "ACEDATACLOUD_API_KEY"wire_api = "responses"
In practice, Codex reads your provider configuration, loads the API token from the environment variable named by env_key, sends requests through the Responses wire protocol, and Ace Data Cloud verifies the token before forwarding the request to an available upstream model channel.
Install Codex CLI
If Node.js 18 or higher is already installed, the npm path is the most direct:
npm install -g @openai/codex
On macOS, Homebrew is also supported:
brew install --cask codex
After installing, reopen your terminal and check that the command is available:
codex --version
If you see command not found, do not over-debug the model configuration yet. First make sure the terminal has loaded the updated PATH; closing and reopening the terminal is often enough.
Put the token where Codex can read it
Codex needs a token, but you do not want to paste it into prompts or project files. The documented setup stores it in a shell environment variable:
export ACEDATACLOUD_API_KEY="{token}"
Replace {token} with the API token from your Ace Data Cloud application. I would normally put this line in ~/.zshrc, ~/.bashrc, or ~/.bash_profile, depending on the shell used on the machine.
Then reload the shell profile:
source ~/.zshrc
The name matters because the Codex config below will reference ACEDATACLOUD_API_KEY through env_key. If the current terminal cannot read that variable, Codex will not be able to authenticate through the configured provider.
Configure the Ace Data Cloud provider
Codex uses ~/.codex/config.toml as the global configuration file. Create it if needed:
mkdir -p ~/.codex
touch ~/.codex/config.toml
Then add this configuration:
model_provider = "acedatacloud"
model = "gpt-5"
model_reasoning_effort = "high"

[model_providers.acedatacloud]
name = "Ace Data Cloud"
base_url = "https://api.acedata.cloud/v1"
env_key = "ACEDATACLOUD_API_KEY"
wire_api = "responses"
There are two small details worth being careful about.
First, wire_api must be "responses", because this setup relies on the OpenAI Responses-compatible proxy. Second, base_url should stop at /v1; Codex combines that base URL with the Responses path internally, resulting in /v1/responses.
If you previously used Codex with an official OpenAI login, clear the cached login state before switching providers:
codex logout
If that command is unavailable, the documented fallback is:
rm -f ~/.codex/auth.json
Start from a real project directory
Once the provider is configured, move into a repo and start Codex:
cd /path/to/your/project
codex
A good first prompt is intentionally boring:
Explain the directory structure of this project
This checks the whole path: terminal command, config file, token environment variable, Responses proxy, and model routing. After entering the interactive interface, you can also inspect the active model and provider with:
/model
The expected shape is:
Model: gpt-5
Provider: acedatacloud
If the provider is not acedatacloud, I would check three things in order: whether ~/.codex/config.toml was saved, whether the current shell can read ACEDATACLOUD_API_KEY, and whether an old ~/.codex/auth.json file is still influencing the session.
Choose a model and set trust boundaries
The documented default is gpt-5, but Codex can be started with a temporary model override:
codex --model gpt-5-mini
The same document also lists other supported model IDs for this service, including gpt-5.6-sol, gpt-5.6-terra, gpt-5.6-luna, gpt-5.5, gpt-5.5-pro, gpt-4.1, o3, and o4-mini. I like keeping the default stable in config.toml, then overriding from the command line when I know a task is small or exploratory.
Codex also supports project trust levels in the same config file:
[projects."/path/to/trusted/project"]
trust_level = "trusted"

[projects."/path/to/untrusted/project"]
trust_level = "untrusted"
Use trusted for repos where you are comfortable letting the agent execute commands and modify files. Use untrusted when you are exploring unfamiliar code and want a more limited operating mode.
A small builder note
The reason I like this setup is that it keeps the surface area small: one terminal command, one TOML file, one environment variable, and the native Codex CLI experience. Ace Data Cloud is just the provider layer behind that workflow, which is exactly where infrastructure should sit when you are trying to stay focused on the code.
If you want to compare the exact fields against the original reference, the source documentation is here: Codex CLI Terminal User Guide.


