

A Practical Guide to Running Open WebUI with Ace Data Cloud
A Docker-first walkthrough for wiring Open WebUI to an OpenAI-compatible model endpoint.
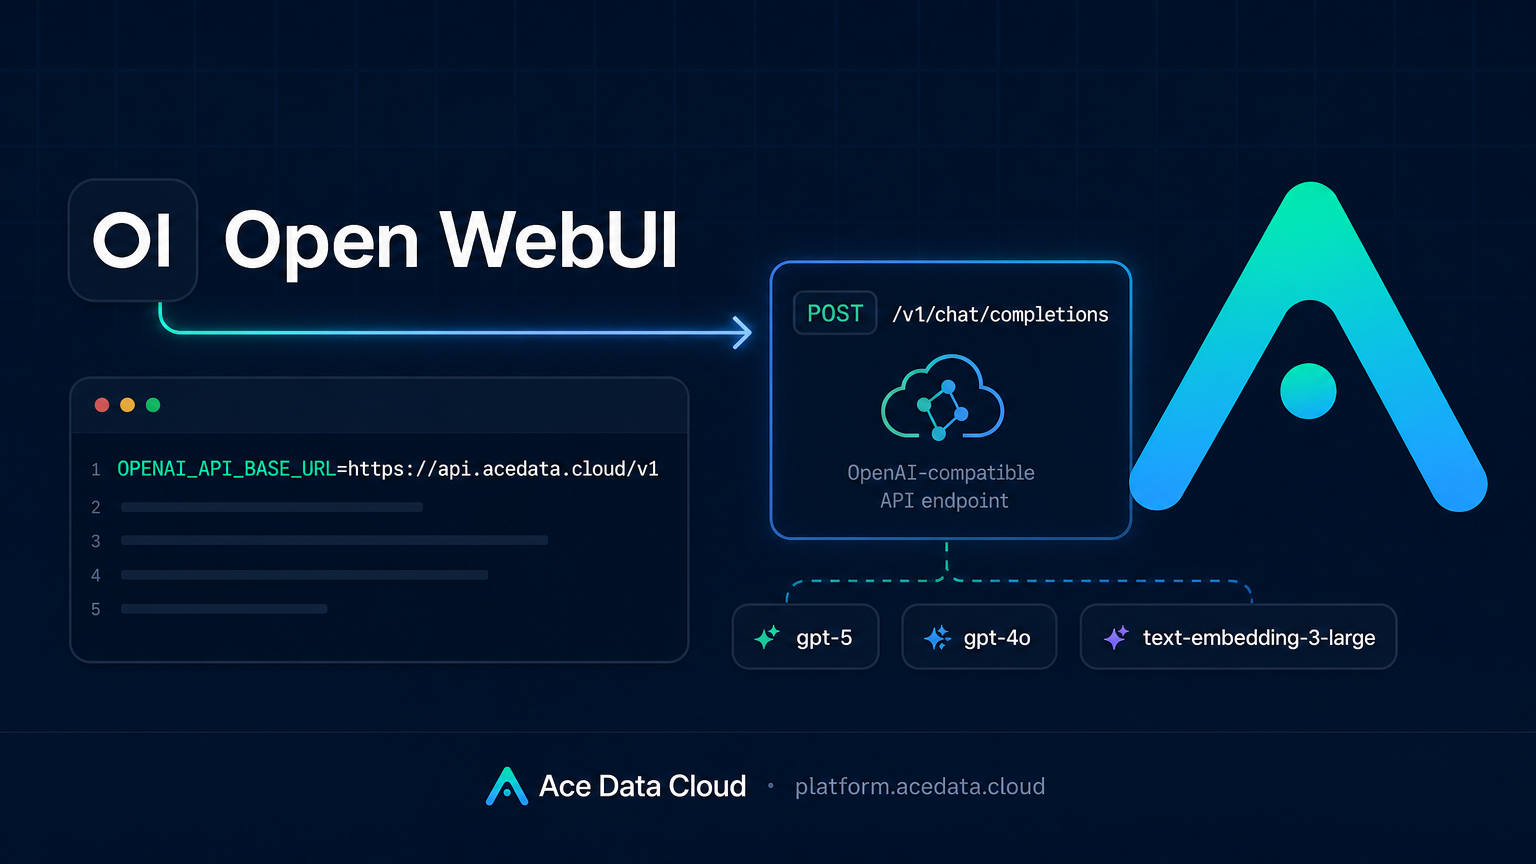
If you want a private, team-friendly AI chat interface but do not want to wire every model provider separately, Open WebUI plus an OpenAI-compatible endpoint is one of the fastest setups to get working.
Open WebUI is useful because it gives you the parts many small teams eventually need: accounts, admin controls, chat history, model selection, and a knowledge-base workflow. The important trick is that it can talk to any OpenAI-compatible server. In this guide, we will connect it to Ace Data Cloud using the same /v1 style endpoint that OpenAI clients expect.
This is not a complex integration. Most of the setup comes down to three values: a base URL, an API token, and a persistent data volume.
What you are building
The goal is to run Open WebUI in Docker and point it at Ace Data Cloud as the model backend.
The key values are:
- Base URL:
https://api.acedata.cloud/v1 - Chat endpoint used under the hood:
POST /v1/chat/completions - Model discovery endpoint used by Open WebUI:
/v1/models - API authentication:
Authorization: Bearer {token} - Example chat model from the documentation:
gpt-5 - Example embedding model for RAG:
text-embedding-3-large
The detail that matters most is the base URL path. Open WebUI appends API paths such as /chat/completions to the base URL you provide. So https://api.acedata.cloud/v1 becomes https://api.acedata.cloud/v1/chat/completions, which is correct.
A common mistake is to use https://api.acedata.cloud/openai/v1. The document notes that this becomes https://api.acedata.cloud/openai/v1/chat/completions, which returns a 404 because /openai does not have /v1 after it.
Start Open WebUI with Docker
If you are testing on a server or a local machine with Docker, the quickest path is a single container command:
docker run -d \
  --name open-webui \
  -p 3000:8080 \
  -e WEBUI_SECRET_KEY=$(openssl rand -base64 32) \
  -e OPENAI_API_BASE_URL=https://api.acedata.cloud/v1 \
  -e OPENAI_API_KEY={token} \
  -v open-webui:/app/backend/data \
  ghcr.io/open-webui/open-webui:main
Replace {token} with your Ace Data Cloud API token. Keep the token out of screenshots, repos, and shared shell history whenever possible.
A few choices in this command are worth calling out:
OPENAI_API_BASE_URLmust end with/v1for this configuration.OPENAI_API_KEYis the token Open WebUI will use when calling the model API.WEBUI_SECRET_KEYprotects the web session and should be stable for a real deployment.-v open-webui:/app/backend/datakeeps users, settings, and conversation data across container restarts.
After the container starts, open http://your-server-IP:3000. The first registered account becomes the administrator, so do that initial signup intentionally.
Verify the endpoint before debugging the UI
When something fails in a UI, I like to test the lower-level API first. It removes a lot of guesswork.
Use this curl command to check whether your token and base URL are working:
curl -X POST 'https://api.acedata.cloud/v1/chat/completions' \
  -H 'Authorization: Bearer {token}' \
  -H 'Content-Type: application/json' \
  -d '{
    "model": "gpt-5",
    "messages": [{"role": "user", "content": "ping"}]
  }'
A successful response should be an OpenAI-compatible chat.completion object. If you receive HTTP 403 used_up, that means the token is valid but the account does not currently have enough balance for the request. If you receive a 404, check the base URL path first.
Once curl works, go back to Open WebUI and open Admin Panel → Settings → Connections. Use Verify Connection to confirm the provider. In Settings → Models, you can filter and pin the models your team actually uses.
Add a knowledge base without losing control of documents
Open WebUI also has a knowledge-base workflow for RAG. According to the integration document, Open WebUI uses ChromaDB by default for vectors, and you can set the embedding model to text-embedding-3-large through the OpenAI provider path.
The practical benefit is simple: your original documents remain on your own Open WebUI server, while only the matched text segments are sent to the model during retrieval. For an internal team wiki, support notes, or engineering runbooks, that separation is often easier to reason about than uploading everything into a hosted chatbot product.
If you expose the instance to other people, spend a few minutes on access control. In Admin Panel → Users, the document recommends setting the default user role to pending, so new users must be reviewed before they can use the system. That small setting can prevent accidental quota usage from open registration.
If you put nginx in front of Open WebUI, the same document also recommends:
proxy_buffering off;
client_max_body_size 100M;
That helps with streaming responses and larger document uploads.
Troubleshooting checklist
If the setup does not work on the first try, check these in order:
- The base URL is exactly
https://api.acedata.cloud/v1. - The token is present in
OPENAI_API_KEYand has not been copied with extra spaces. - The direct curl request returns a
chat.completionobject. - Open WebUI can call
/modelsfrom the Connections settings page. - The Docker volume is mounted if data disappears after restart.
- For document chat, the embedding model is set to
text-embedding-3-large.
Most failed setups I have seen come from path confusion rather than model configuration. Get the base URL right, verify with curl, and only then tune the Open WebUI settings.
If you want to compare this against the original integration notes, the Ace Data Cloud documentation for this setup is here: https://platform.acedata.cloud/documents/development_open_webui


