

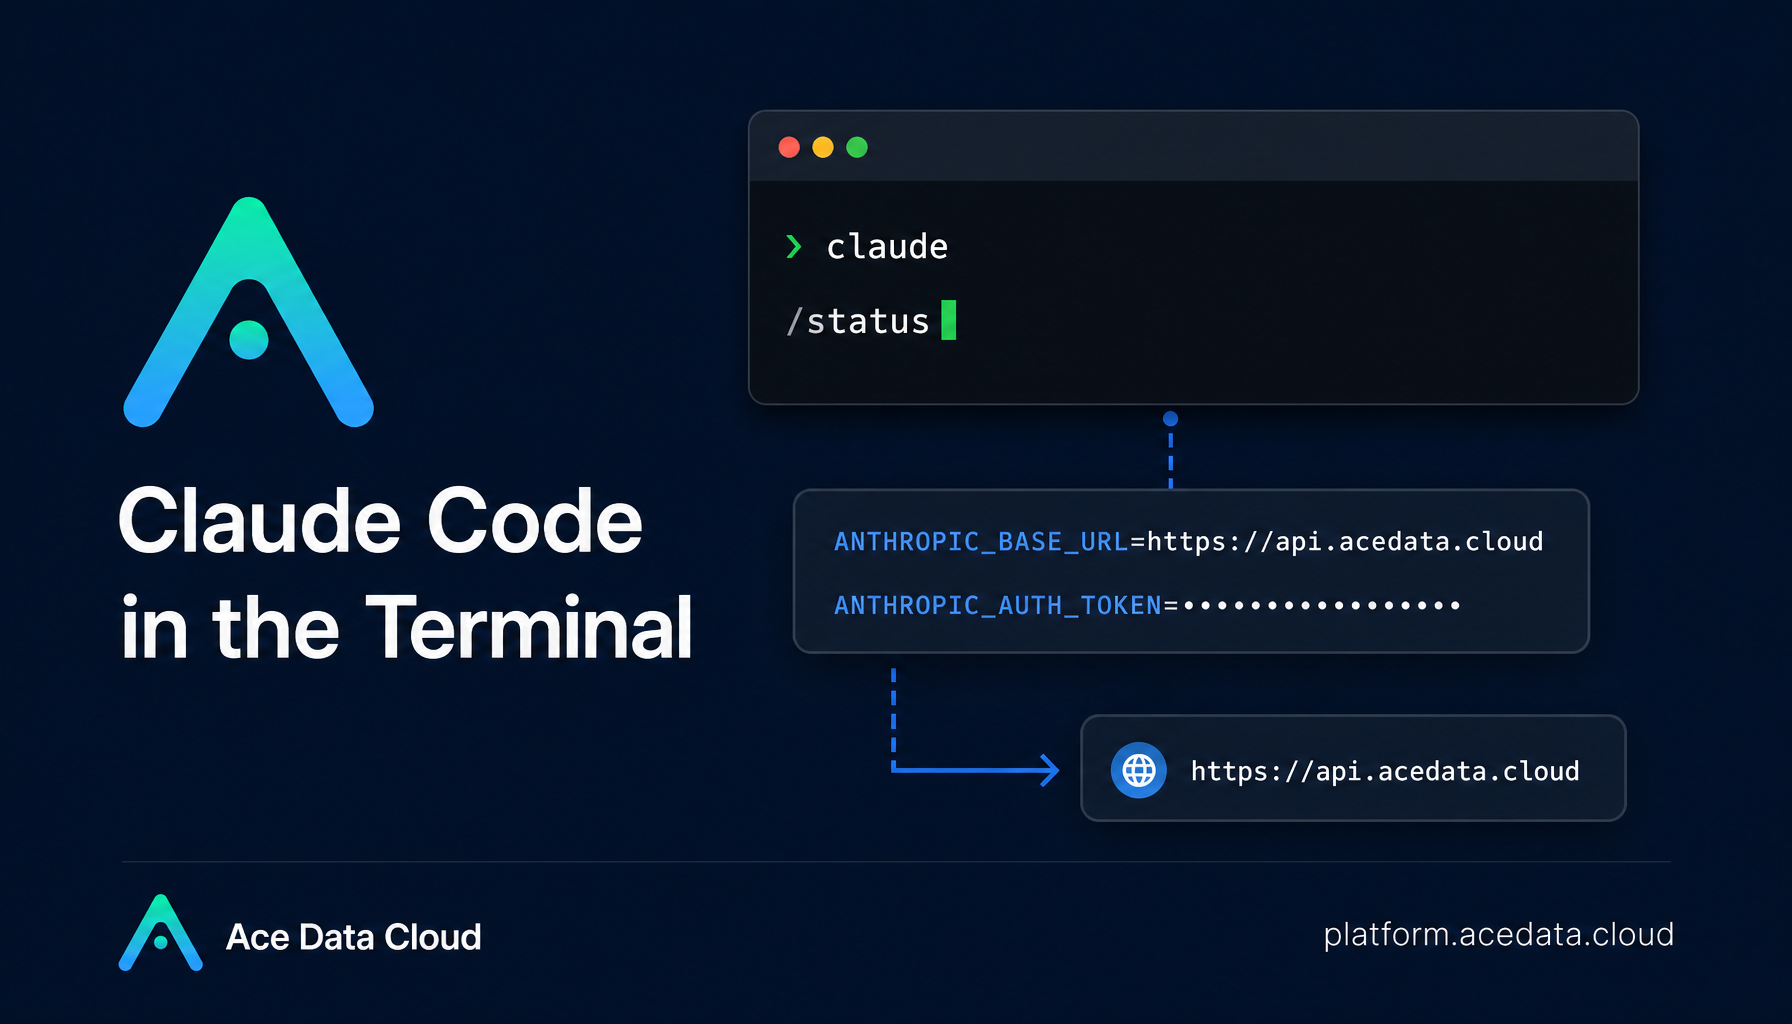
A Practical Guide to Project-Level Claude Code CLI Configuration
Set up the native Claude Code terminal client with local credentials, clean authentication, and a verifiable API route.
title: How to Build a Generate-and-Edit Image Workflow with the Nano Banana Images API published: false tags: ai, api, tutorial, machinelearning canonical_url: https://platform.acedata.cloud/documents/nano-banana-images-integration cover_image: https://platform2.cdn.acedata.cloud/gpt-image/b2192115-1c4e-4837-93d4-736517abee0b_0.png
If your product needs both text-to-image generation and practical image edits, the annoying part is usually not the prompt — it is keeping one clean API shape for both workflows.
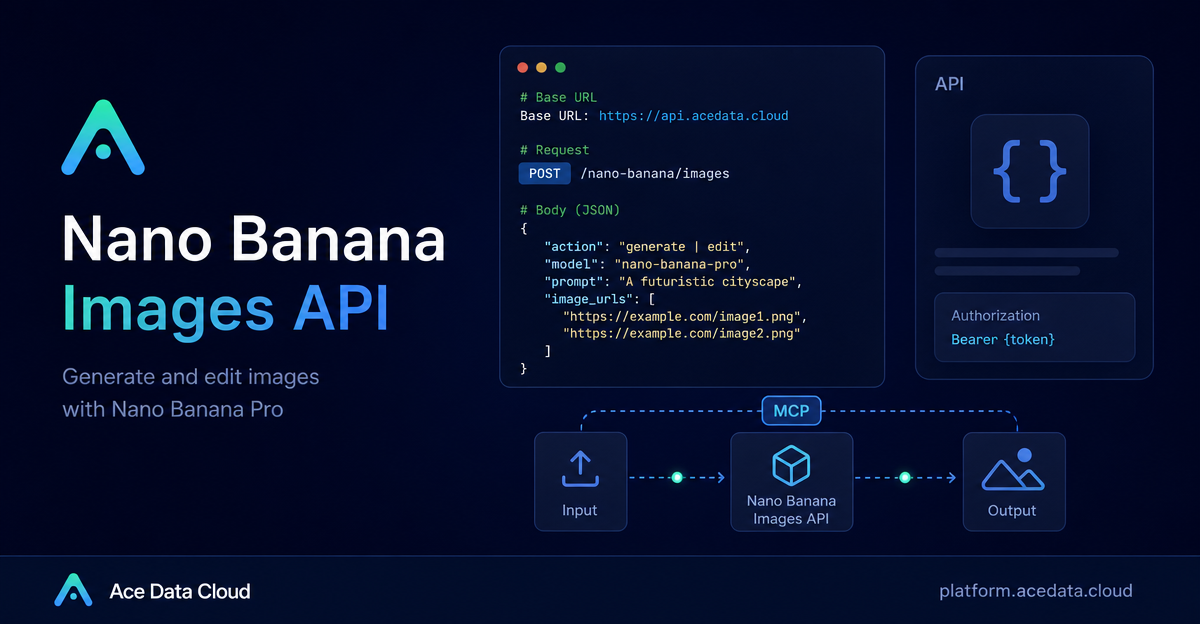
In this guide, we will build a small mental model for using the Nano Banana Images API through Ace Data Cloud: one endpoint, two actions, optional model selection, and a result shape that gives you image URLs plus IDs you can log for debugging.
The goal is not to wrap every feature. It is to get a builder-friendly path you can drop into a prototype: generate an image from a prompt, edit one or more public images, and decide when to use a webhook callback.
What you can do
The Nano Banana Images API supports two main actions:
generate: create images from a textpromptedit: transform or combine existing images usingimage_urls[]and aprompt
Both actions use the same base API details:
Base URL: https://api.acedata.cloud
Endpoint: POST /nano-banana/images
Authentication: authorization: Bearer {token}
Headers:
  accept: application/json
  content-type: application/json
The minimum required request fields are action and prompt. For editing, you also pass image_urls, an array with at least one publicly accessible image URL. The docs note that these can be HTTP/HTTPS links, and HTTPS is recommended.
You can also choose a model. The default is nano-banana, while the guide lists nano-banana-2-lite, nano-banana-2, nano-banana-pro, and corresponding :official channel variants such as nano-banana-pro:official. If you do not need to tune model behavior yet, start with the default and make model selection a configuration value later.
How it works
Think of the endpoint as a task-producing image operation. You submit JSON, receive a response with success, task_id, trace_id, and a data[] array. Each successful item in data[] contains the echoed prompt and an image_url.
That response shape is useful in production code because you can store:
task_idas the job identifier in your own databasetrace_idfor troubleshooting and supportimage_urlas the artifact your app displays or downloads
Here is the smallest useful generate request:
curl -X POST 'https://api.acedata.cloud/nano-banana/images' \
  -H 'authorization: Bearer {token}' \
  -H 'accept: application/json' \
  -H 'content-type: application/json' \
  -d '{
    "action": "generate",
    "model": "nano-banana-pro",
    "prompt": "A clean product hero image of a compact desk lamp on a dark navy background, soft rim lighting, realistic material texture, centered composition",
    "count": 1
  }'
A successful response follows this pattern:
{
  "success": true,
  "task_id": "70e6931b-6e34-43db-9e36-8765e2809d04",
  "trace_id": "60df8d38-f265-4986-aec7-75c9220bced2",
  "data": [
    {
      "prompt": "A clean product hero image of a compact desk lamp on a dark navy background, soft rim lighting, realistic material texture, centered composition",
      "image_url": "https://platform2.cdn.acedata.cloud/nanobanana/1d0160b4-93f9-4229-8926-ea9ef0bed336.png"
    }
  ]
}
The count field is optional and supports 1 to 4 images. The documentation also notes that if some images fail, only successful images are returned and billed, so your UI should handle a shorter data[] array than requested.
Editing one or more source images
For edit workflows, the important difference is action: "edit" plus image_urls[]. The prompt should describe the transformation you want, while the image URLs provide the source material.
This makes the API fit common builder use cases:
- apply a clothing or product reference to a person image
- create consistent variants from an existing asset
- combine a base image with a second reference image
- perform lightweight creative edits without changing endpoints
Example request:
curl -X POST 'https://api.acedata.cloud/nano-banana/images' \
  -H 'authorization: Bearer {token}' \
  -H 'accept: application/json' \
  -H 'content-type: application/json' \
  -d '{
    "action": "edit",
    "prompt": "let this man wear on this T-shirt",
    "image_urls": [
      "https://cdn.acedata.cloud/v8073y.png",
      "https://cdn.acedata.cloud/44xlah.png"
    ],
    "count": 1
  }'
The response has the same top-level shape as generation: success, task_id, trace_id, and data[] with an image_url. That symmetry is nice: your app can implement one result parser for both actions.
Add callbacks when requests may take longer
Image operations can take time, and long HTTP connections are not always the best fit for web apps. The API supports an optional callback_url field. When you include it, your server provides a public webhook endpoint that can receive a POST JSON payload when the task is complete.
A practical pattern is:
- Submit the image request with
callback_url. - Save
task_idand mark the job as pending. - Return immediately to the user interface.
- When your webhook receives the completion payload, store
data[].image_urland update the job state.
The callback payload uses the same successful response structure, including success, task_id, trace_id, and data[], so your synchronous and asynchronous paths can share most of their parsing code.
Handling errors without guessing
The error response includes success: false, an error object, and trace_id. The guide lists common error codes including invalid_token for authentication failure, too_many_requests for request frequency limits, and api_error for server exceptions.
A simple client should log trace_id on every failure and branch on error.code rather than trying to infer what happened from HTTP status alone.
{
  "success": false,
  "error": {
    "code": "api_error",
    "message": "Internal server error."
  },
  "trace_id": "2cf86e86-22a4-46e1-ac2f-032c0f2a4e89"
}
A small production checklist
Before putting this behind a user-facing button, I would add a few guardrails:
- keep
{token}server-side and send it only in theauthorizationheader - validate that
image_urls[]are public URLs before callingedit - store
task_idandtrace_idfor every request - treat
data[]as a list that may contain fewer images thancount - make
model,count,aspect_ratio, andresolutionconfigurable rather than hard-coded
That is enough to build a reliable first version: one endpoint for generation and editing, a predictable response format, and a callback path when you need async job handling.
If you want the exact field list and the maintained examples, the original Nano Banana Images API guide is here: https://platform.acedata.cloud/documents/nano-banana-images-integration


